Do you have a cracked fingernail bed? A DIY repair is easier than you think with these 7 steps to fix a cracked nail at home. I’m a licensed nail tech and am excited to share my salon secrets with you!
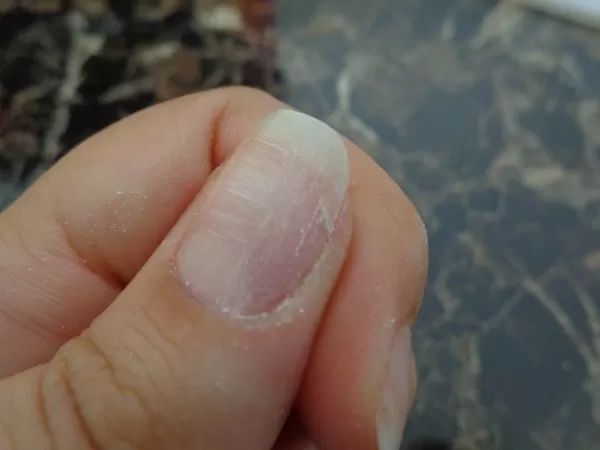
Do you find it frustrating when your nail bed has a crack in it? If you’re like me, you worry that something will catch on it and your nail will rip off into the quick at any point. Boy is that painful!
There’s no need to panic because I’m sharing how you can easily fix a cracked nail right in your own home. Let me show you how!
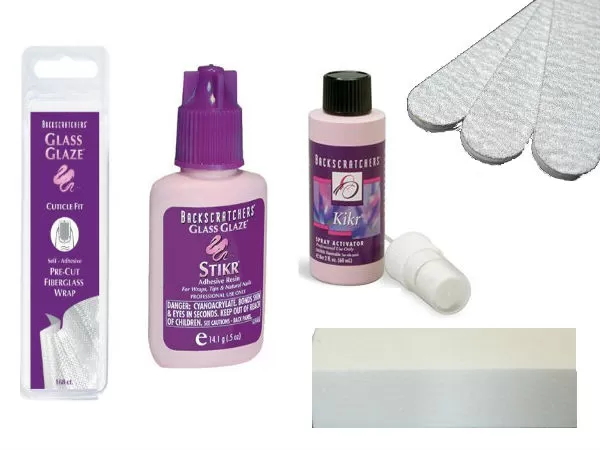
Here are the products I’ll be sharing and that you’ll need to fix your cracked nail bed.
- Nail File
- Backscratchers Fiberglass Strips (or Sheba Nails Fiberglass Tabs)
- Backscratchers Stikr Nail Glue
- Backscratchers Kikr
- Block Buffer
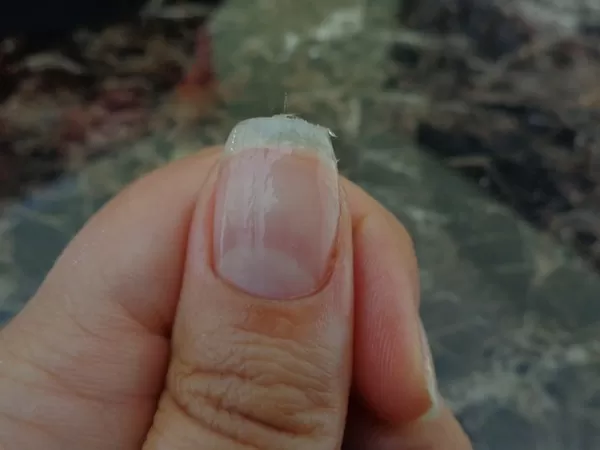
1. Buff your cracked fingernail using a nail file.
Because it’s so hard on your nails, the only time I’ll ever recommend that you buff your nail using a nail file is when you’re repairing a cracked nail. The goal of buffing your nail with a nail file is to roughen up your nail so that the fiberglass will adhere to it. (When buffing your nail, if you see any shine at all, you haven’t buffed enough.)
I only buffed the half of my nail where the crack was. (If you choose, you can place the fiberglass over your entire nail. It’s a matter of personal preference.)
2. Spray your nail with rubbing alcohol.
This removes any nail dust from your nails.
Pro Tip: If you don’t have a small spray bottle, you can also pour rubbing alcohol into the bottle’s lid and dip your nail in it.
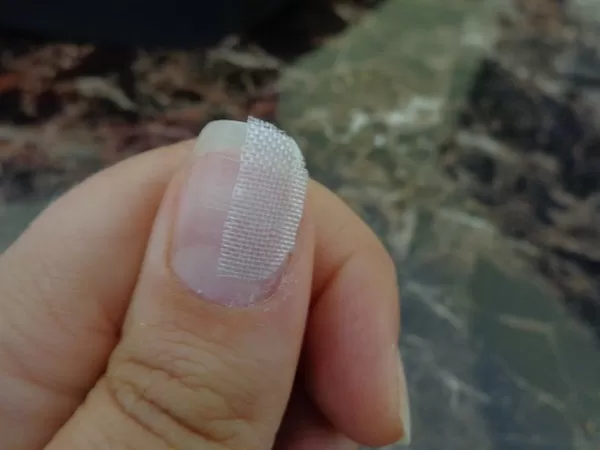
3. Place a piece of fiberglass on your nail bed over the cracked portion of your fingernail (the area that you buffed).
I usually use a strip of fiberglass that is longer than my nail and trim it once it’s set in place.
It is very crucial to make sure that the fiberglass is only on your nail and does not touch any skin/cuticle. (If the fiberglass ends up on your skin the repair will not last and the fiberglass will eventually lift from your nail.)
Pro Tip: If possible, try not to finger the fiberglass too much – this will help keep your skin’s oils off of it.
4. Apply a thin layer of nail glue.
While you can use any nail glue, I recommend Backscratchers Stikr.
I’ve found that the easiest way to thinly spread the glue is to use an extender tip placed on the top of your nail glue.
Do your best to make sure that you don’t get any nail glue on your skin/cuticle.
Pro Tips:
- If you do get nail glue on your skin, wipe it off as soon as possible or use an Orange Wood Stick to separate it from your skin.
- When you’re finished using your glue, you’ll want to “burp” the bottle so that it doesn’t clog. (I personally burp the bottle often – between steps #5 and #6.) To burp the bottle, simply squeeze the sides of the bottle (not the middle where the labels are) and the glue will back out of the top.
5. Spray with Kikr.
Making sure that the glue is dry before proceeding is an important step. If you try to start buffing with wet glue you’ll smudge the fiberglass and may need to start over.
Backscratchers Kikr is expensive but it’s definitely worth every penny because it saves you the time of having to wait for the glue to dry on its own. Kikr has magical ingredients that dry the glue within a few seconds.
Whether or not you’re using Kikr, you’ll want to test to make sure your glue is dry before proceeding to the next step. To do so, lightly tap your finger on top of your nail. If it is still sticky you’ll need to wait longer until the glue dries (or spray with more Kikr.)
Pro Tip: When spraying the Kikr, make sure you spray away from your bottle of nail glue. (You don’t want to dry up your bottle of glue!)
6. Repeat steps #4 and #5 two more times.
7. Lightly buff your nail with a block buffer.
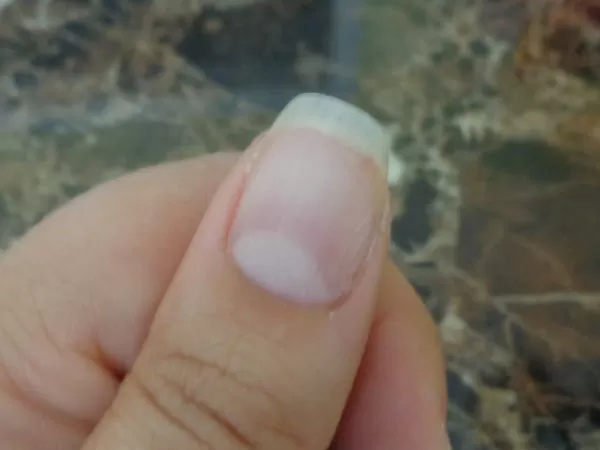
Using a block buffer, lightly buff the repaired area and remove any shine. Run your finger over the repaired area to make sure it is smooth. Over-buffing can cause you to buff through the glue and into the fiberglass. This removes the translucency of the fiberglass and gives it a grainy appearance.
Pro Tip: Once you buff, if the repaired area is not smooth (or you find any dents/dings) simply spray with rubbing alcohol, let dry, place a tiny bit of glue over that area and re-buff.
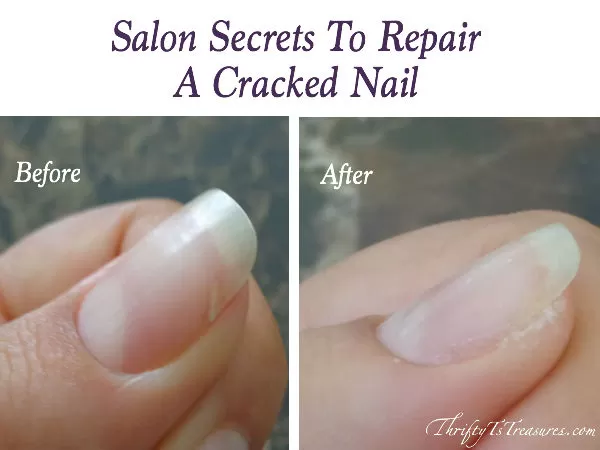
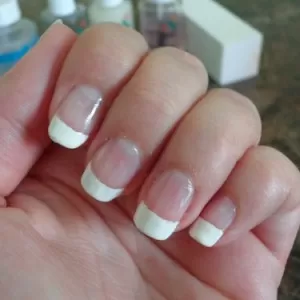
And there you have it, my salon secrets to repair a cracked nail! Feel free to polish your nails just as you normally would!
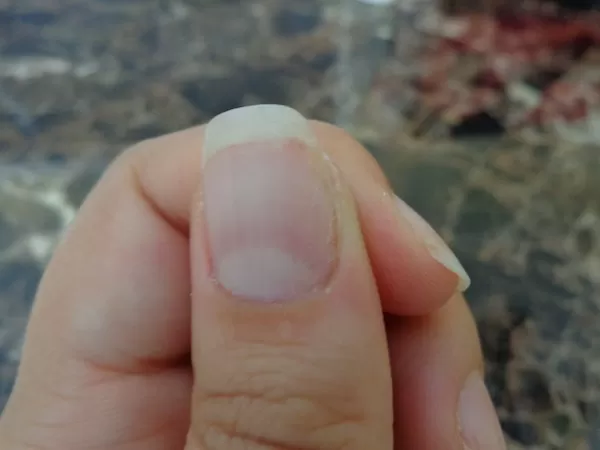
Pro Maintenance Tip: The fiberglass will grow along with your nail. One week after you’ve repaired your crack, you’ll want to look at the repaired area and make sure that the fiberglass is not lifting from your nail bed.
If you see any lifting, simply apply a thin layer of nail glue to the area to seal it, spray with Kikr and lightly buff. If you don’t see any lifting, you can either lightly buff the area using your buffer block or do nothing.
Continue checking the area where the cracked nail was each week until the fiberglass has grown off of your fingernail.
What are your tips and tricks for repairing a cracked nail at home?



Unreadable because ads cover content ugh! Won’t come back so don’t send me emails!